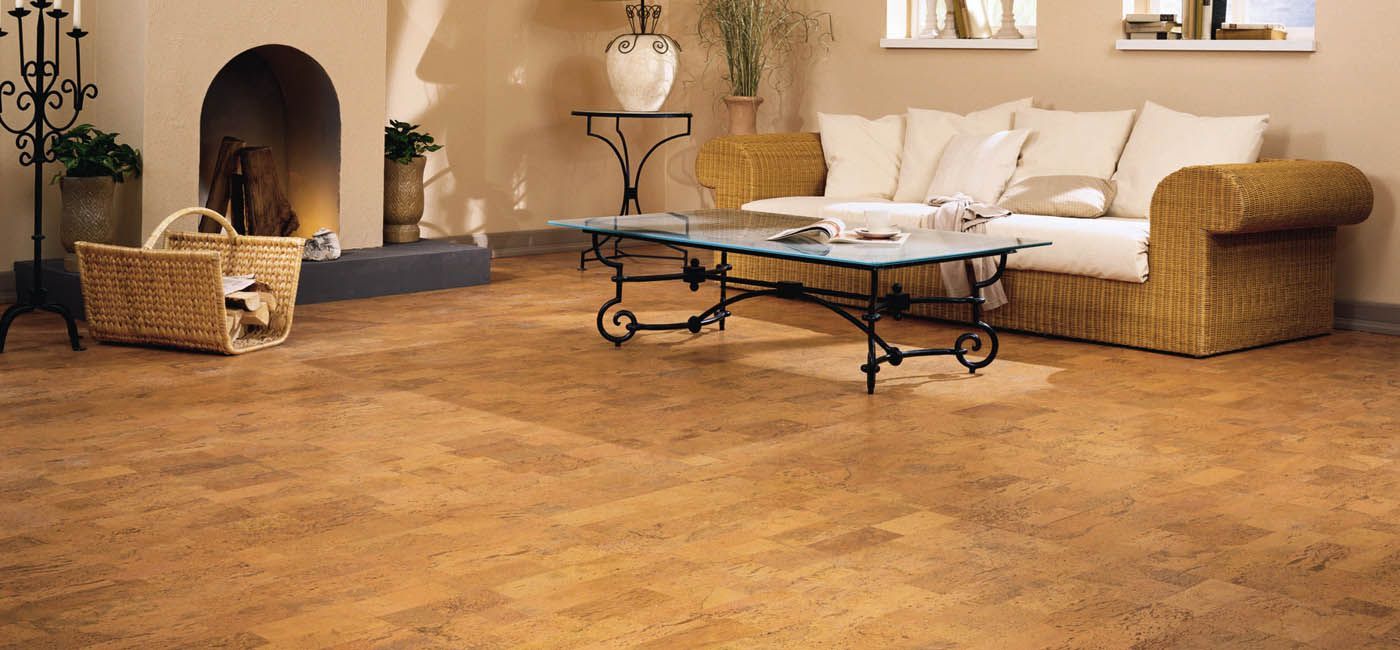
Thinking about new floors for your Las Vegas home? Tile is a great choice. It looks nice and lasts a long time in the hot desert climate. Many homeowners in Las Vegas pick tile for their floors.
You can expect to pay between $10 to $25 per square foot for tile installation in Las Vegas. This price includes both materials and labor. The cost can change based on the type of tile you choose and how big your room is.
Installing tile floors can make your home look better and increase its value. It's also easy to clean and can help keep your house cool. If you want to learn more about putting tile floors in your Las Vegas home, keep reading. We'll cover everything you need to know to get started.
Understanding Tile Flooring Options
Las Vegas homes offer many tile flooring choices. Each type has unique qualities that affect look, durability, and cost. Let's explore the common options and their pros and cons.
Types of Tiles Used in Las Vegas Homes
Ceramic tiles are popular in Las Vegas. They come in many colors and patterns. Porcelain is a type of ceramic that's very hard and water-resistant.
Natural stone tiles add luxury. Options include:
- Marble
- Granite
- Slate
- Travertine
These give a high-end look but need more care.
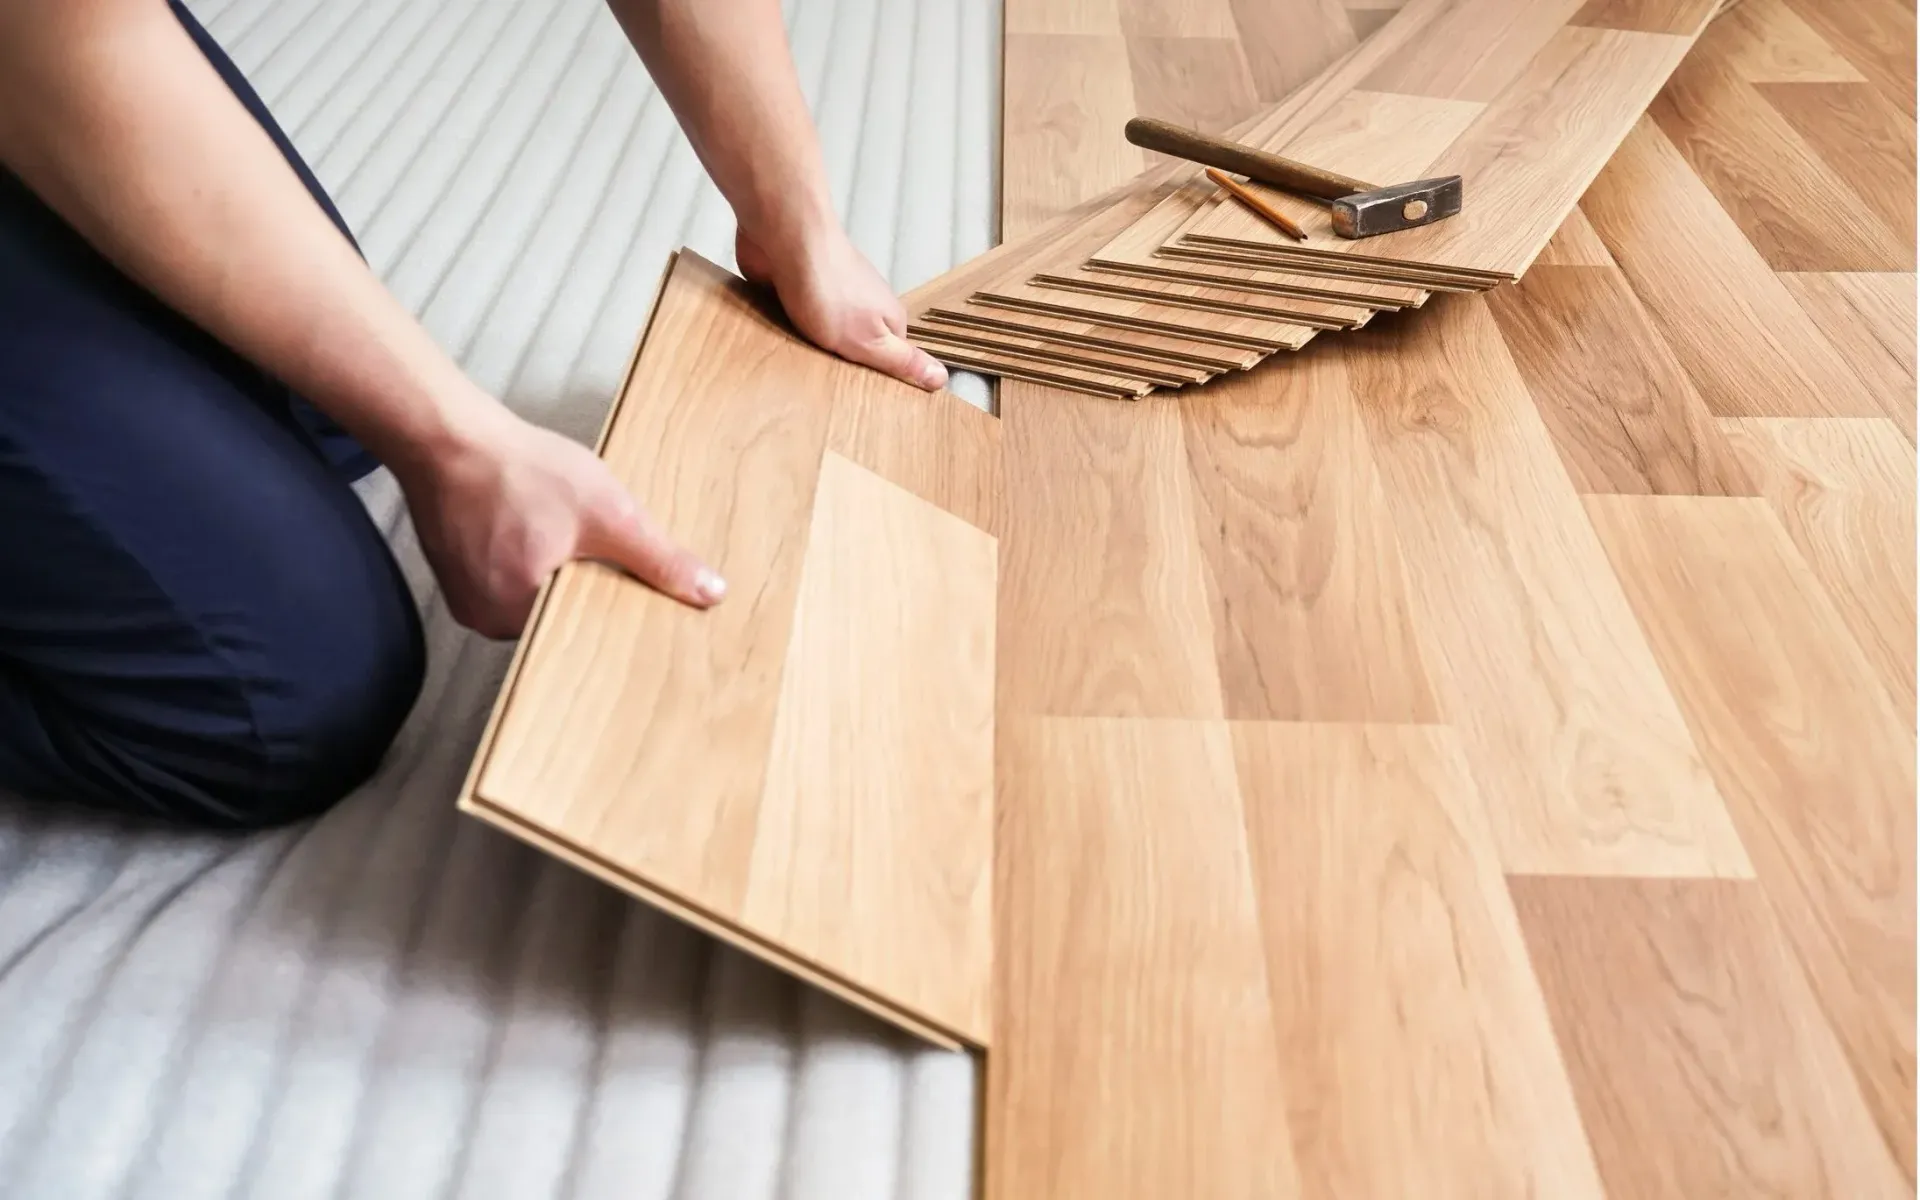
Luxury vinyl tiles mimic stone or wood. They're softer and warmer than real stone.
Glass tiles work well for backsplashes. They add shine and color to kitchens and bathrooms.
Pros and Cons of Different Tile Materials
Ceramic and porcelain are tough and easy to clean. They resist water and stains. But they can be cold and hard underfoot.
Natural stone looks stunning. It's unique and adds value to your home. The downsides? It's pricey and needs sealing to prevent stains.
Luxury vinyl is comfy and affordable. It's good for DIY installs. The drawback is it may not last as long as other options.
Glass tiles are beautiful and reflect light. They're great for small spaces. But they can be slippery when wet and may chip easily.
Consider your budget, style, and how you'll use the space when picking tiles. Think about maintenance needs too. Some tiles need more upkeep than others.
Preparation for Tile Installation
Getting ready for tile installation is key. You'll need to check your floor and gather the right tools before starting. This will help ensure a smooth, long-lasting tile job.
Assessing Your Subfloor Condition
Check your subfloor before laying tile. It needs to be flat, dry, and strong. Use a level to find any dips or bumps. Fix these with self-leveling compound.
Test for moisture with a plastic sheet. Tape it down for 24 hours. If it's wet underneath, you have a moisture problem to fix first.
For wood subfloors, make sure they don't flex. Add plywood if needed. Concrete subfloors should be clean and free of cracks.
Cement backer board is often used over plywood. It gives a solid base for your tiles.
Gathering Necessary Tools and Materials
Make a list of what you need before you start. You'll want:
- Tiles
- Mortar or adhesive
- Grout
- Spacers
- Trowel
- Tile cutter
- Tile nippers
- Grout float
- Sponges
- Buckets
Don't forget safety gear like gloves and knee pads. A wet saw can be helpful for cutting tiles.
Buy extra tiles. Add 10% to your total for cuts and mistakes. This saves trips to the store later.
Choose the right mortar for your tile type. Some tiles need special adhesives. Ask at your local tile shop if you're not sure.
Installing Tile Flooring Step by Step
Proper tile installation requires careful planning and precise execution. Follow these steps to achieve a professional-looking result in your Las Vegas home.
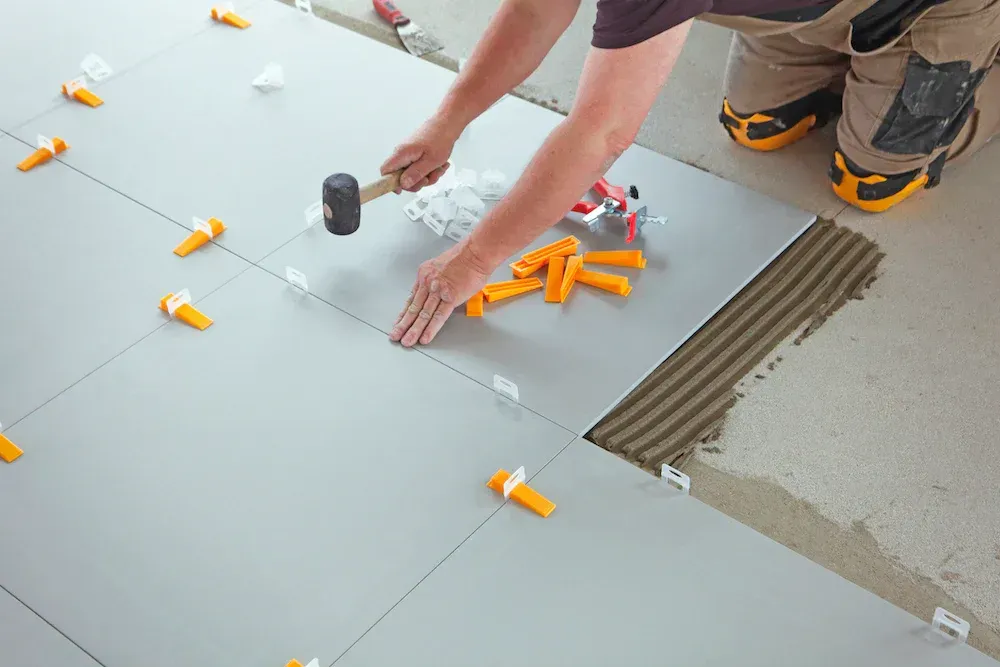
Laying Out Your Tiles
Start by finding the center of your room. Snap chalk lines to divide the floor into quadrants. Lay out loose tiles along these lines, using spacers for even gaps. This dry run helps you plan your layout and avoid small cuts at the edges.
Adjust the center lines if needed to ensure larger tile pieces at the room's edges. Mark the final layout with more chalk lines.
Clean the floor thoroughly. Fix any uneven spots with a self-leveling compound. Allow it to dry completely before moving forward.
Mixing and Applying Thinset
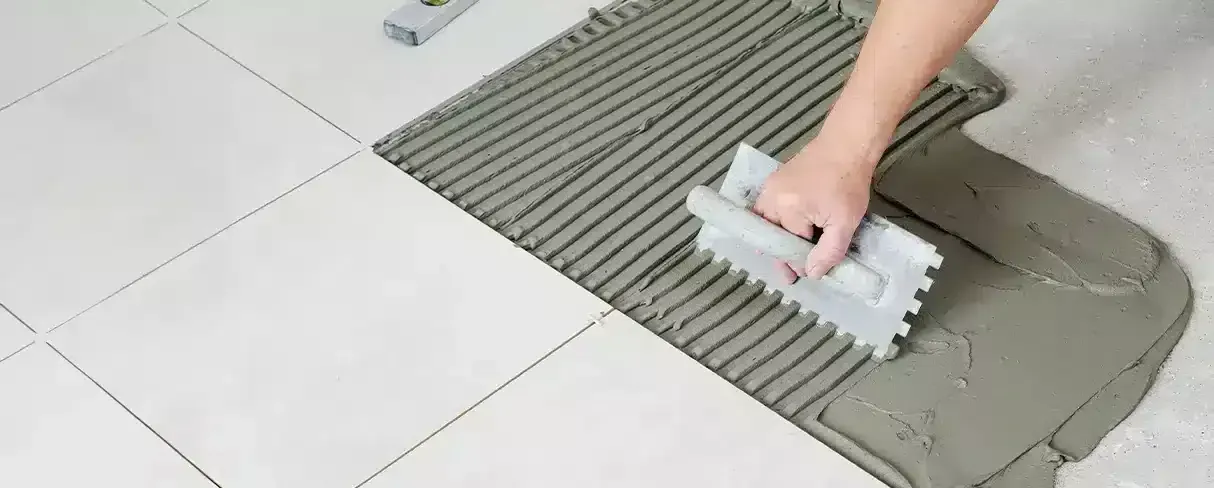
Choose the right thinset for your tile type. Mix it according to the manufacturer's instructions. Aim for a consistency similar to peanut butter.
Apply the thinset to a small section of the floor using a notched trowel. Press down hard so the trowel makes a scraping sound. The notch size should match your tile thickness.
Work in small areas to prevent the thinset from drying before you set tiles. Spread only as much as you can tile in about 15 minutes.
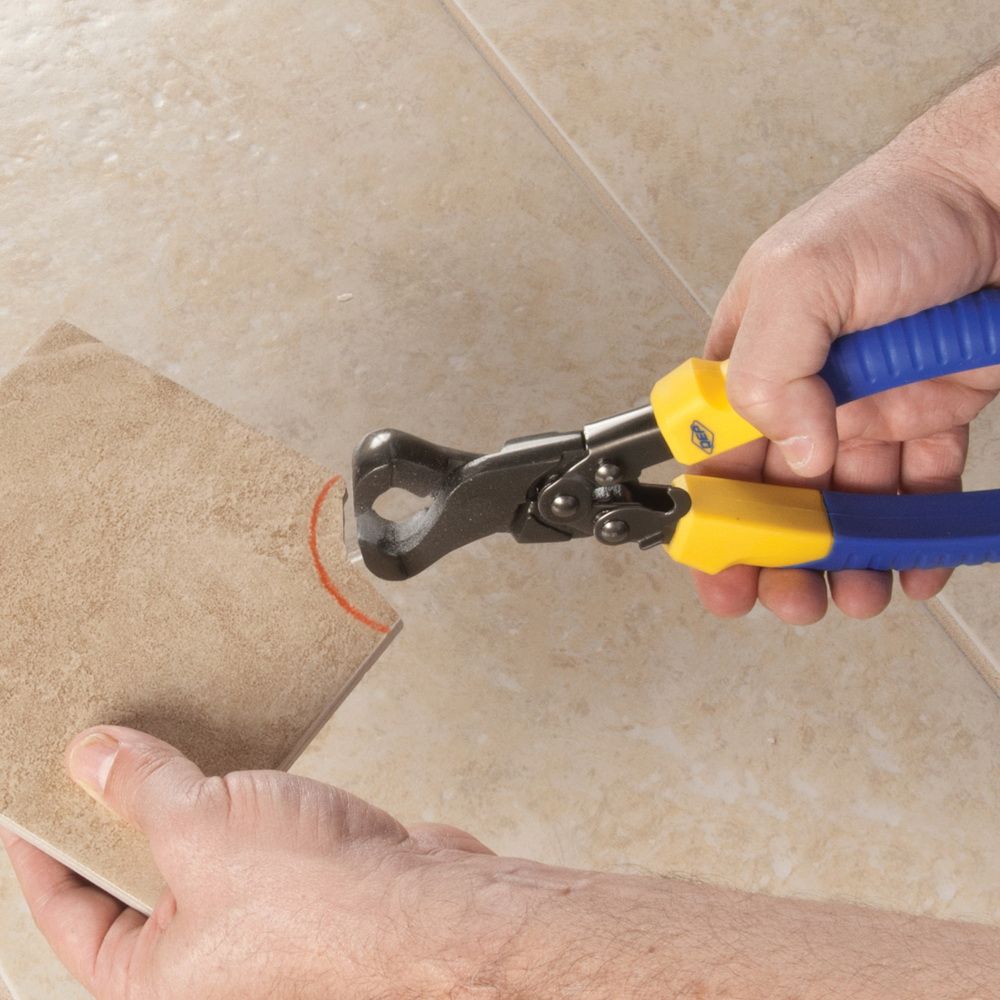
Cutting Tiles to Fit Edges and Corners
Measure the space where you need a cut tile. Mark the tile and use a tile cutter for straight cuts. For more complex cuts, use a wet saw.
Always wear safety glasses when cutting tiles. Cut a few extra pieces in case of mistakes.
For holes around pipes or fixtures, use a drill with a tile bit. Start with a smaller bit and gradually increase the size for best results.
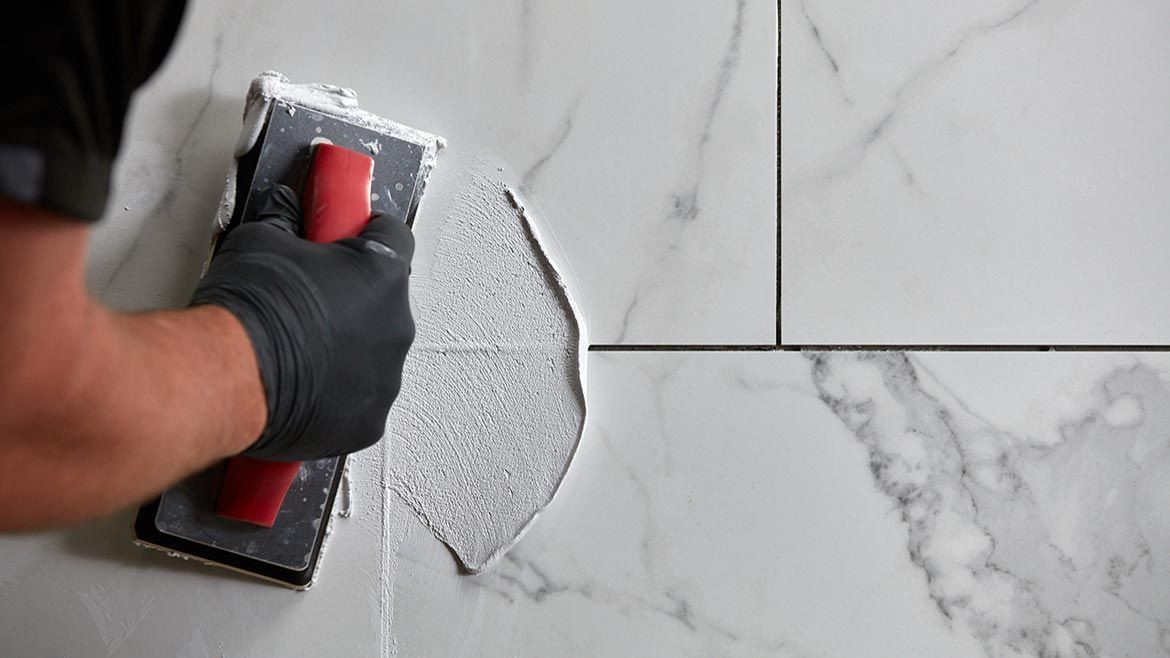
Grouting and Sealing the Tiles
Allow the thinset to cure for at least 24 hours before grouting. Remove the tile spacers.
Mix the grout according to package instructions. Apply it diagonally across the tiles using a rubber float. Press it firmly into the gaps.
Wipe off excess grout with a damp sponge. Clean the tile surface thoroughly after the grout sets.
Once the grout dries completely, apply a sealer to protect it from stains. Follow the sealer's instructions for best results.
Maintenance and Upkeep of Tile Flooring
Proper care keeps tile floors looking great for years. Regular cleaning and quick fixes for damage help maintain their beauty and durability in Las Vegas homes.
Routine Cleaning Practices
Start by sweeping or vacuuming your tile floors daily. This removes dirt and grit that can scratch the surface. Use a soft-bristled broom or vacuum without a beater bar.
Mop weekly with warm water and a mild cleaner made for tile. Avoid harsh chemicals that can damage grout or tile finishes. Rinse thoroughly to prevent soap residue buildup.
For tougher stains, make a paste of baking soda and water. Apply it to the stain, let it sit for a few minutes, then scrub gently with a soft brush.
Don't forget the grout! Clean it every few months with a grout brush and specialized cleaner. Seal grout yearly to protect it from stains and moisture.
Managing Chips and Cracks
Inspect your tile floors regularly for any damage. Small chips can often be fixed with epoxy filler matched to your tile color. Apply the filler carefully and smooth it level with the tile surface.
For cracked tiles, replacement is usually best. Keep extra tiles from your installation for repairs. If you don't have spares, try to find a close match.
Prevent future damage by using furniture pads under heavy items. Place mats at entrances to catch dirt and grit. Be careful when moving objects across the floor to avoid scratches or chips.
If you spot loose tiles, re-adhere them promptly to prevent further issues. Use a suitable tile adhesive and follow the manufacturer's instructions for best results.
Hiring a Professional Installer vs. DIY
Choosing between a professional installer and doing it yourself depends on your skills, budget, and project complexity. Each option has its pros and cons.
Evaluating the Complexity of Your Project
Consider the size and layout of your space. Small, square rooms are easier for DIY tiling. Larger areas or complex shapes may need a pro.
Think about your skills and tools. Basic tiling needs patience and some handy work. Cutting tile around pipes and drains can be tricky for beginners.
Time is also a factor. DIY can take longer, especially if you're learning. Pros work faster and often finish in a few days.
Budget plays a big role too. DIY saves on labor costs, but you'll need to buy or rent tools. Professional work costs more upfront but may save money long-term by avoiding mistakes.
What to Look for in a Professional Installer
Experience is key. Look for installers with a good track record in Las Vegas homes. Ask how long they've been in business.
Check for proper licensing and insurance. This protects you if anything goes wrong.
Read reviews and ask for references. Good installers should have happy past clients.
Get detailed quotes from several pros. Compare prices, but also look at what's included. Some may offer extras like subfloor prep.
Ask about warranties. Professional work often comes with guarantees on both materials and labor.
Make sure they use quality materials. The best installers won't cut corners on supplies.
Summing Up
Installing tile floors in Las Vegas homes can transform your living space. With proper planning and execution, you can achieve stunning results.
Remember to choose tiles that suit your style and budget. Consider factors like durability, maintenance, and climate suitability.
Proper preparation is key. Ensure your subfloor is clean, level, and dry before starting. Use quality materials and tools for the best outcome.
If you're unsure about tackling the project yourself, hiring a professional is a wise choice. Las Vegas Flooring Company offers expert tile installation services. We have the skills and experience to handle any tile flooring project.
By choosing a reputable company, you can avoid common pitfalls and ensure a flawless finish. Professional installers can also help you select the right tiles for your space.
With the right approach, your new tile floors will enhance your home's beauty and value for years to come.